Introduction
Online ‘Price Bands’ are a simple way of assigning colours to specific days or date ranges on the calendar (date selector) used on any of your online booking templates. The aim is to provide a colourised calendar, with a ‘Key’, in order to improve the customer user experience when making an online booking. This is most usually used to indicate where ticket prices change on specified days / date ranges, e.g. green coloured dates may represent ‘Standard Prices and red coloured dates represent ‘Premium Prices’. Where these are required, ‘Price Bands’ must be set up for each ‘Booking Template’ they are needed on. For each ‘Booking Template’, you can create the required ‘Price Band’ names and colours, then assign them to the calendar used for that specific ‘Booking Template’. Please note the system also automatically generates a ‘Key’ for you to show your customers what each of these colours represents.
If you require any training on this functionality, please contact your Customer Success Manager and they will be able to provide a quote for your training needs.
Please be aware that online ‘Price Bands’ are nothing to do with the ‘Price Bands’ option in the Merac back office software. Online ‘Price Bands’ are a totally separate concept and are just used to apply colours to the calendar used by a specific online ‘Booking Template’.
Locating the Price Bands Option
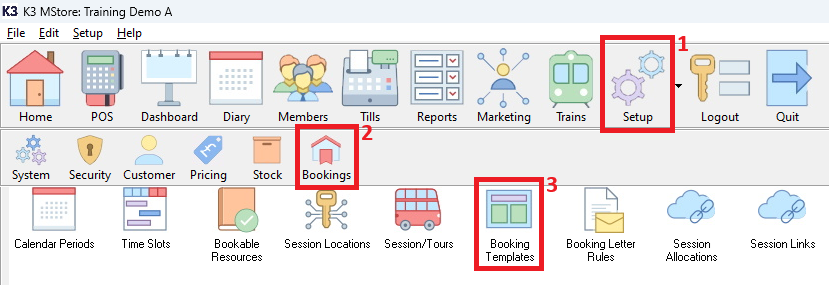
Access the ‘Booking Templates’ screen by1. clicking ‘Setup’ 2. click ‘Bookings’. 3. then double click ‘Booking Templates’.
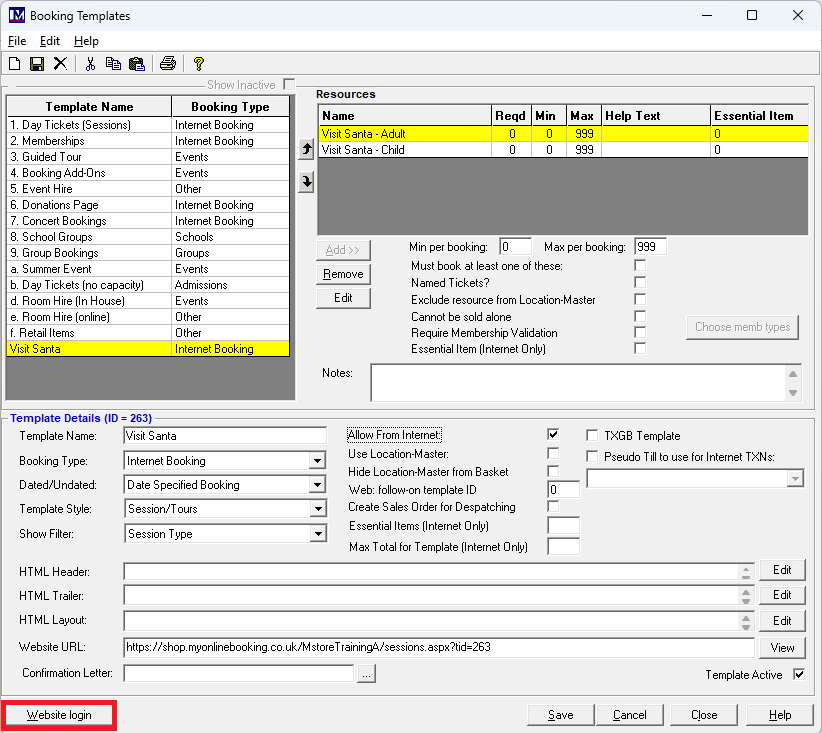
Click the ‘Website Login’ button.
Clicking this button will open a web page, with a password box).
You will be now taken to your website administration login web page.
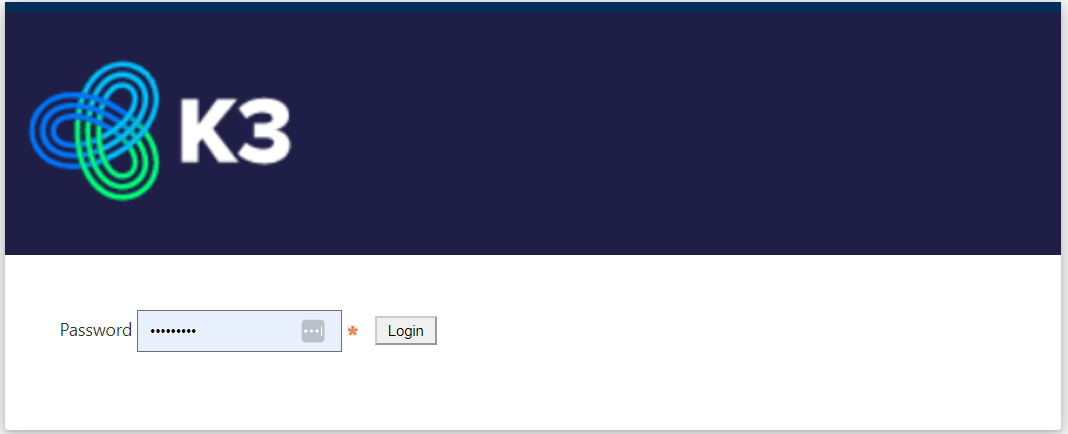
Type the password you have already been provided in the password field
Next press the ‘Enter’ key on your computer’s keyboard.
You will now be on the ‘Admin Menu’ page.
To access the online ‘Price Bands’ functionality, click ‘Update Price Bands’.

You will now see a screen like the one shown below.

Click on a template description in the ‘Please choose a template’ list selection box.
Click the ‘Add’ button.

In the ‘Price Band Name’ box, enter the required name for this ‘Price Band’.
In the ‘Description’ box, enter the required description. N.B. this description will be used in the ‘Key’ that is automatically created to show your customer what each of the price bands represent.

Click the ‘Colour’ box and the easiest way is to enter the specific colour code in the 'R' 'G' 'B' fields if you have this code.
Alternatively click the bar to select a broad colour type.

Then click a point within on the colour palette to select your required colour.

Then simply click anywhere off the this color selector screen to return back to the main screen.
Please Note:
The appearance of this colour selector screen will vary depending on the internet browser you are using. How the colours appear to customers may also not look like on your screen due to differences in device colour / brightness settings.
Next, click ‘Add’.
You will now see a message “New price band has been added”.

Click ‘Ok’.
To add a second price band, click on the template name again in ‘Please choose a template’ list and click ‘Add’.

Repeat the process to enter the ‘Price Band Name’, ‘Description’ and to select the ‘Colour’ as before.

Click ‘Add’ again.
As before, you will now see a message “New price band has been added”.

Repeat this process to add all the required ‘Price Bands’.
Assigning Price Bands to a Calendar
Now you need to apply the ‘Price Band’ colours to the required calendar dates for a specific template.
1. Ensure you click on the required ‘Booking Template’ from the ‘Please choose a template’ list of options.

2. Click on the name of the first price band you want to apply to the calendar.
3. Click on a date to select it or click and drag to select a range of dates.
Repeat as required, until all the dates are showing in the colour for this price band.
4. Click ‘Apply’.
1. Now click on the next price band name here.

2. Once again click and drag to assign this colour to date(s) as before.
Repeat as required until all dates are showing the correct colours in this specific year.
3. Click 'Apply'.
Please note if you wan to colourise dates for future years repeat the process but at the point before selecting dates, then instead you need to select the required year and then select and colourise the sates in the same way as explained before.

If other ‘Booking Templates’ need price band colours creating and applying, repeat the process as required for each specific ‘Booking Template’ as detailed in the previous pages. Once you have finished, click on the close button where shown.

Updating Online Booking Templates
To apply these changes to your online ‘Booking Templates’, they must be updated.
You will be on the ‘Admin Menu’ page, click on the ‘Update Templates’ button.

Wait for the ’Update completed successfully’ message.
Once this procedure has finished, you can then press the ‘Logout’ button which is located at he bottom of this screen.
Check Online Calendar Price Bands
In the ‘Merac back office software, go into: Setup > Bookings > Booking Templates.
Click on the required ‘Template Name' so it becomes highlighted yellow.

Click the ‘View’ button where shown.
Please also note that the URL for this template is shown in the ‘Website URL:’ box. *
Check the dates are showing with the correct colour for each ‘Booking Template’.
Check for each date in each year the ‘Price Bands’ were set up on and that the colours and ‘Key’ are showing correctly.

Once everything is correct, provide your own web designer the URL for this 'Booking Template' (* see above).
They will then need to add this URL to the relevant buttons on your own web pages.